In OS X Mavericks update, Apple announced some new features including tabs in windows, file tagging,faster performance and updated iWork apps for Mac. Safari also got Shared links, Reading list and Push notifications feature in the update.
Push notifications in Safari is for site subscriptions. Sites can implement it to send RSS notifications to Mac users. One nice thing about Safari Push notifications is that you don't need to keep Safari open to receive these notifications. You'll receive notifications from subscribed sites even if you don't have Safari running.
It is a good way to subscribe to your favorite sites and grab the news quickly. But the problem with Safari Push notifications is that it is very hard to implement on blogs. Thanks to Roost, a service that allows webmasters to Implement Safari Push notifications for their blogs easily.

Roost is a premium service that allows webmasters to send push notifications. It also includes a free plan which has limited features but it is more than enough for average bloggers. Apart from the free plan, it has Basic, Plus and a Pro plans which feature Automation and Advanced stuff.
One good thing with Free plan is that there's no limitation on the number of users that can subscribe to your blog for push notifications, and you can send upto 1 million messages every month, which I think is enough even for every popular blogs.
After signing up on Roost, you just need to enter your blog's link to get started. At the end step, it will give you the script that you'll have to paste in your blog's code. Once done, it will notify you on your dashboard that you have successfully implemented the script. If your blog is on WordPress, you can also download the Roost WordPress plugin if you don't want to add the script manually.

Now, whenever anyone opens your site, he will be asked to Accept or Deny the notifications from your site. Now, you can customize the notifications from the "Settings" page which you can access from your Roost dashboard.
You can add your blog's icon and you can also set up Welcome message.
The only problem with the free plan is that you will have to send the notifications manually. From the dashboard, you can create messages to be sent as notifications. To compose a message, you just have to enter the title and the link. Just after you press the send button, the notifications will be sent immediately to all the subscribers. If you are a premium user, you can use push via RSS feeds and scheduling.
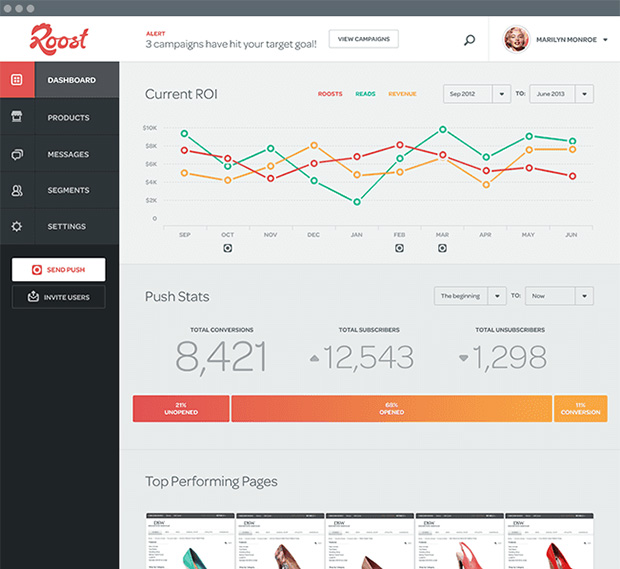
You can also check the number of users subscribed to your blog from the dashboard. Roost also features basic analytics for all users.You can check the users who saw your notifications and how many of them clicked on the notifications. It also displays the number of page views and Time on site of the users who clicked the notifications.
If you want to receive Push notification from ZINX, you can head over to the homepage and allow the site to send push notifications.